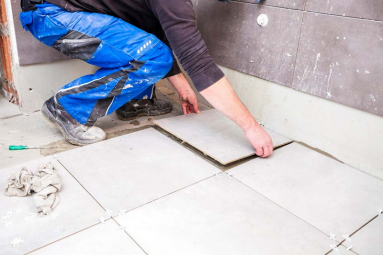
How to install tiles?
The tile aisle draws crowds, yet most shoppers miss a critical truth: perfect tiles mean nothing without proper installation. These battle-tested techniques separate professional results from DIY disasters.
1.Surface Preparation
Determines SuccessSurfaces must be clean, level, dry, and structurally sound. Skipping proper leveling leads to hollow tiles - seen jobs with 30% failure rates. Concrete moisture above 3% causes adhesive failure. Waterproofed bathrooms need scratch coats for mortar to grip.
2.Critical Details in Installation
TechniqueMatch trowel notch size to tile: 10mm for large-format, 6mm for smaller. Wrong tools cause adhesive failure - witnessed entire walls detaching within months. Even "seamless" installs require 1.5mm expansion gaps. Thermal movement doesn't forgive tight joints.
3.Solutions for Tricky
AreasExternal corners chip with 45° cuts - use color-matched resin trims instead of metal. Pipe cutouts demand diamond blade scoring first, then gradual widening to prevent cracks.

4.Common Installation
MistakesLow-absorption tiles (<0.5%) don't need soaking. Porcelain requires dual-bonding: primer plus thin-set mortar. Walking on fresh tiles within 24 hours creates hidden damage that surfaces later.
5.Inspection
Know-howDon't just tap with a small hammer - for large tiles, press with your palm and listen. Focus checks on all four corners and center - any tile with over 5% hollow area must be redone. Before grouting, thoroughly clean joints with a groove cleaner - many grout failures occur due to dust in gaps. Test floor slopes with a ping pong ball - drains should have obvious slope within 30cm radius.

Quality tile installation is like invisible art - people admire the tile beauty without noticing the craftsmanship beneath. Failed installations make even premium imported tiles look cheap. Remember - every penny saved on installation labor will cost double in future repairs.
 What are the common challenges in China sourcing, and how can they be overcome?
 How do enterprises start sourcing products from China?
 Tips to consider when sourcing in China
 China-US Suspend 24% Tariffs! 90-Day Grace Period Brings Economic Windfall
